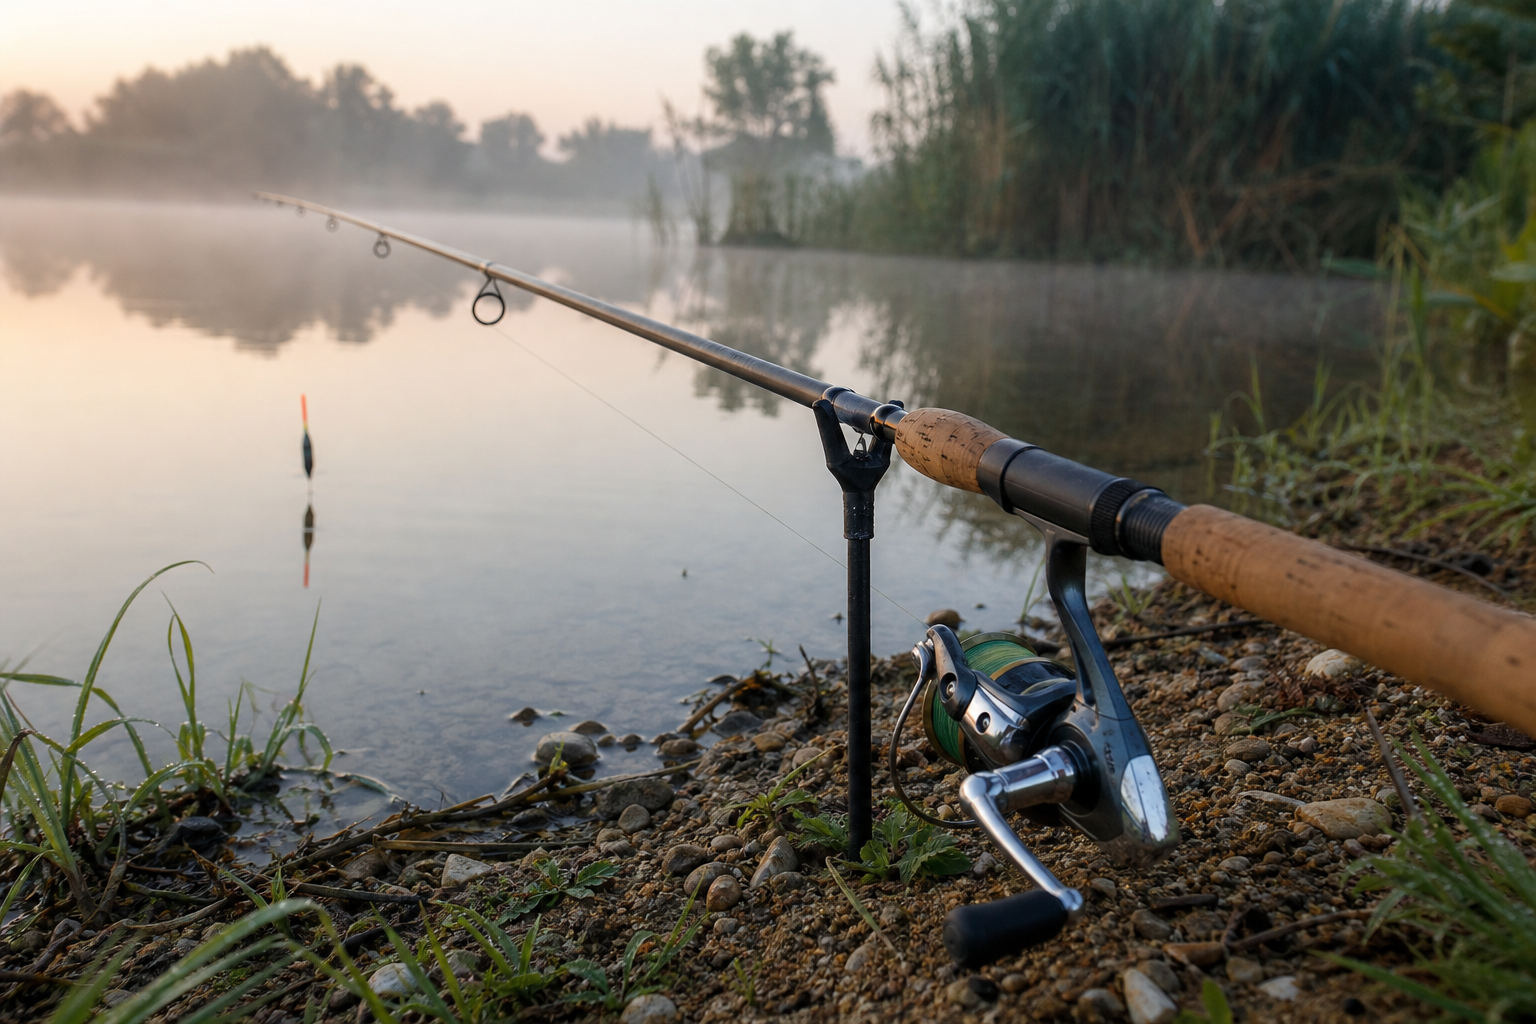
How to Set Up a Float Fishing Rod for Your First Session on a Stillwater
Step-by-step stillwater guide to how to set up a float fishing rod. Covers waggler components, shotting, finding depth, casting tips and quick fixes for first sessions.
At a Glance
- Use a simple waggler rig with a float adaptor, locking shot, bulk cluster and dropper shot for stillwater coarse fishing.
- Assemble rod and reel, thread line, clip in the waggler, add bulk and dropper shot, then attach a 25–30 cm lighter hooklength with a barbless hook.
- Find depth with a plummet, set the float to cock with only the tip showing, then move the float up 10–15 cm for overdepth.
- Cast gently, sink the line after the float lands, watch for dips or rises and lift the rod smoothly to strike.
- Check licences and fishery rules before you fish and use simple shotting adjustments if you get too many or no bites.
Setting up a float fishing rod for the first time is genuinely straightforward once you understand what each part of the rig does and why it goes where it does. This guide walks you through every step, from assembling the rod to finding the right depth, so that you arrive at the waterside knowing exactly what you have in your hands.
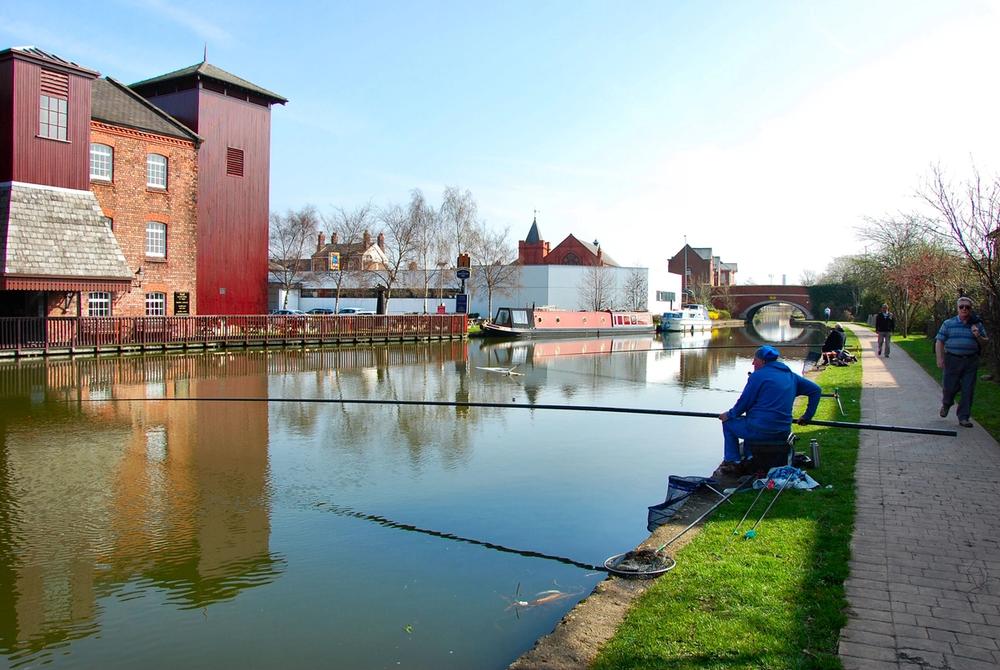
The setup covered here is a simple waggler rig for stillwater coarse fishing: lakes, ponds and commercial day-ticket fisheries. It is well suited to species such as roach, bream, tench and smaller carp. If you are planning to fish a river, the approach is a little different and a separate guide covers that ground. For now, if you have a day-ticket lake in mind, you are in the right place.
What you need before you start
Before building your first waggler rig, it helps to have everything laid out in front of you. The list below covers what you need for this setup. A few extras are useful but not essential for your first session.
The setup this article covers
This guide builds a single waggler rig for stillwater coarse fishing. It suits roach, bream, tench and similar species on lakes, ponds and commercial day-ticket fisheries. If you are fishing a river, a different float and shotting approach applies.
- An 11 to 13 ft float or match rod (a longer rod helps with line control on open water)
- A 2500 to 3000 size fixed-spool reel loaded with 3 to 4 lb monofilament mainline
- A small selection of waggler floats (a 2 AAA or 3 AAA rated float is a practical starting point)
- Split shot in AAA, BB, No.4 and No.8 sizes
- A float adaptor or silicone attachment sleeve
- A hooklength of 0.12 to 0.14 mm mono, around 25 to 30 cm long, with a size 16 or 18 barbless hook already tied on
- A small swivel or a loop-to-loop connection for attaching the hooklength to the mainline
- A plummet for finding the depth of your swim
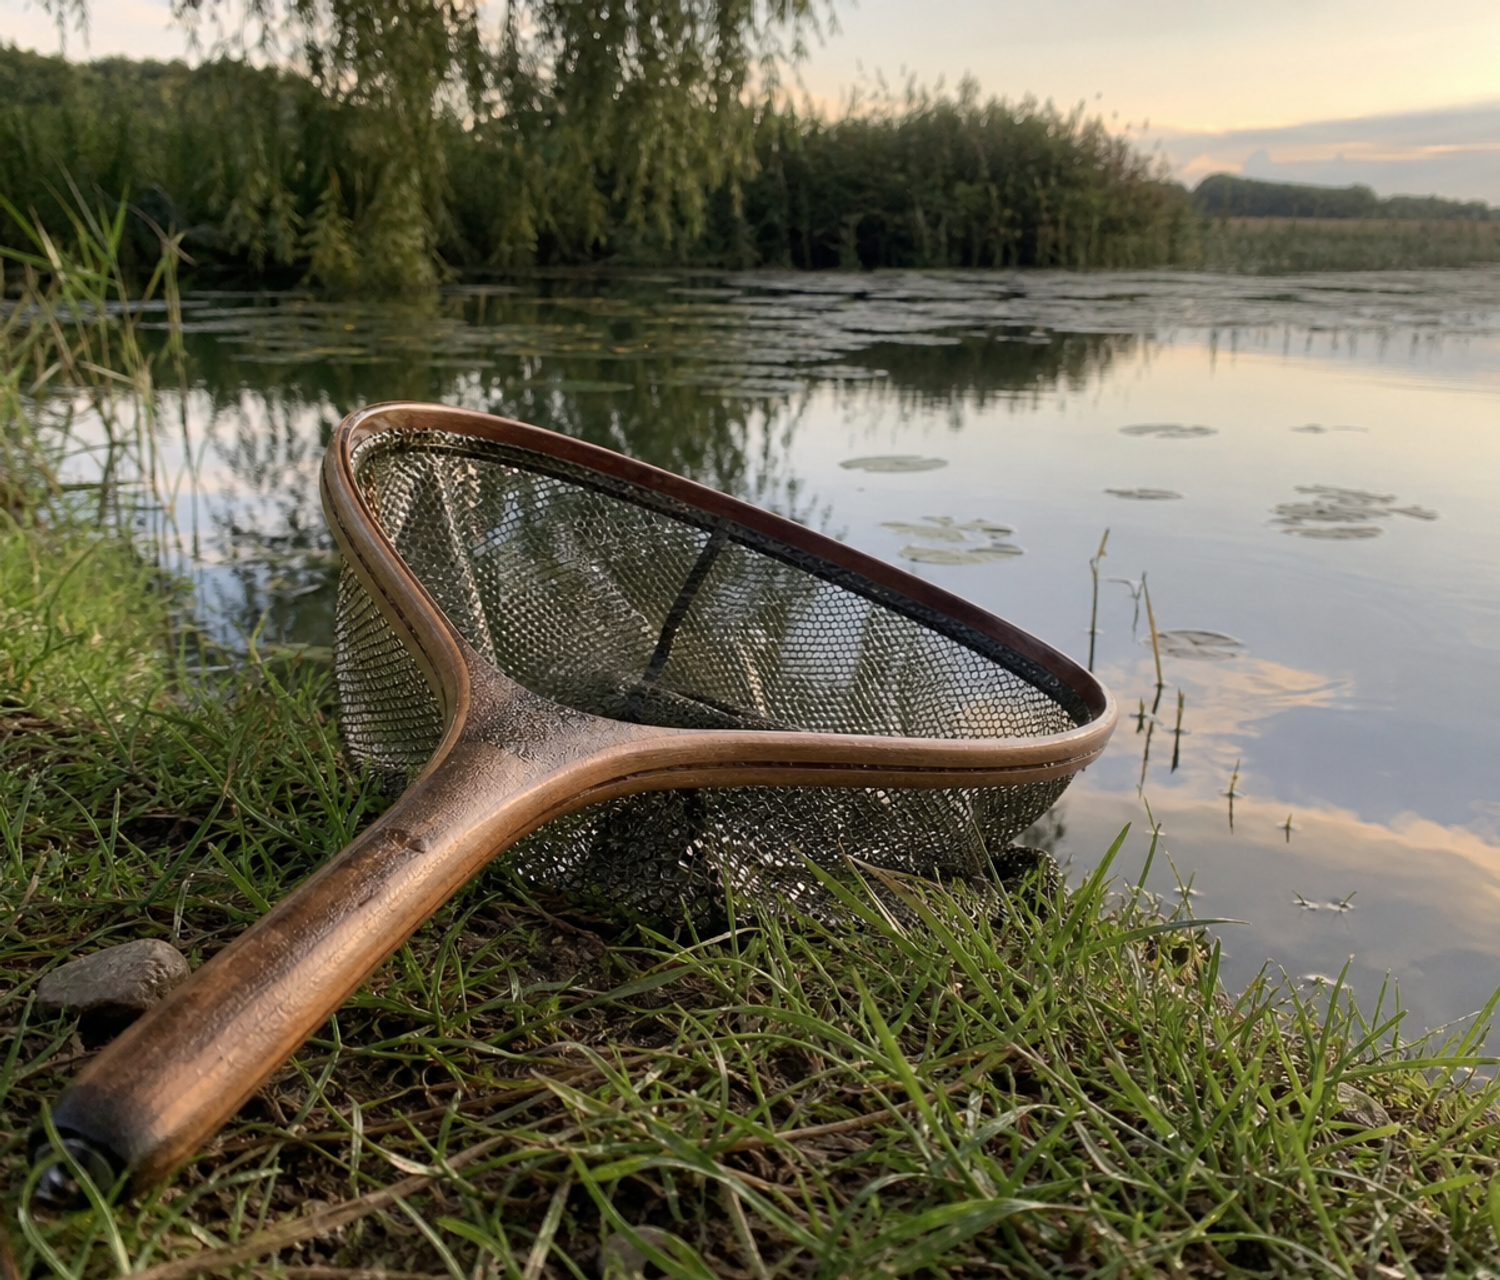
- A disgorger, a landing net with rubber or soft mesh, and an unhooking mat
The rod, reel, hooklengths and shot are all you strictly need for your first session. A rod rest and keepnet are common additions but neither is necessary to begin with. Most commercial fisheries require a landing net and unhooking mat, so treat those as part of the essentials rather than optional extras.
If you are still deciding on a rod, our guide to float rods for beginners explains what to look for in each length. Choosing a reel to match is covered in our guide to float fishing reels.
Understanding the components of a waggler rig
Most setup guides tell you where to put things without explaining why. This section fills that gap. Once you understand what each component does, the assembly steps that follow will make much more sense.
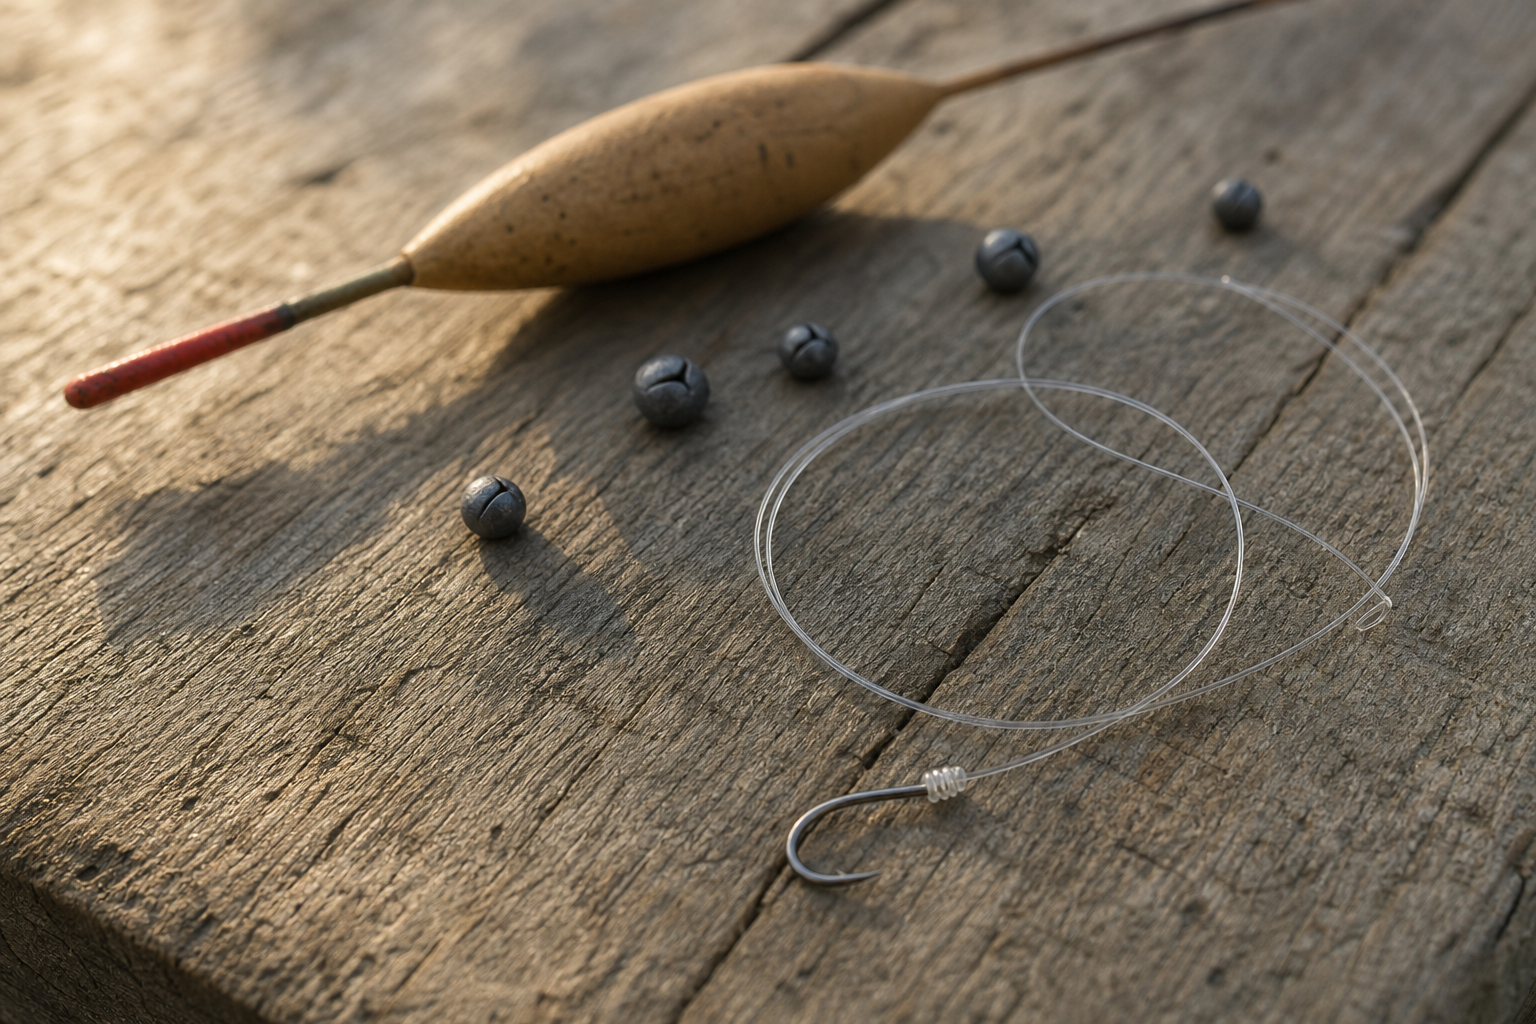
The waggler float is attached to the line at its bottom end only, through a small eye or ring at its base. This bottom-end-only attachment is what makes a waggler different from other float types. It casts cleanly because the float lies flat during the cast and then snaps upright on landing, and it sits stable on still water without being pulled sideways by the current. The float signals bites by dipping, sliding away or, in some cases, rising from the water.
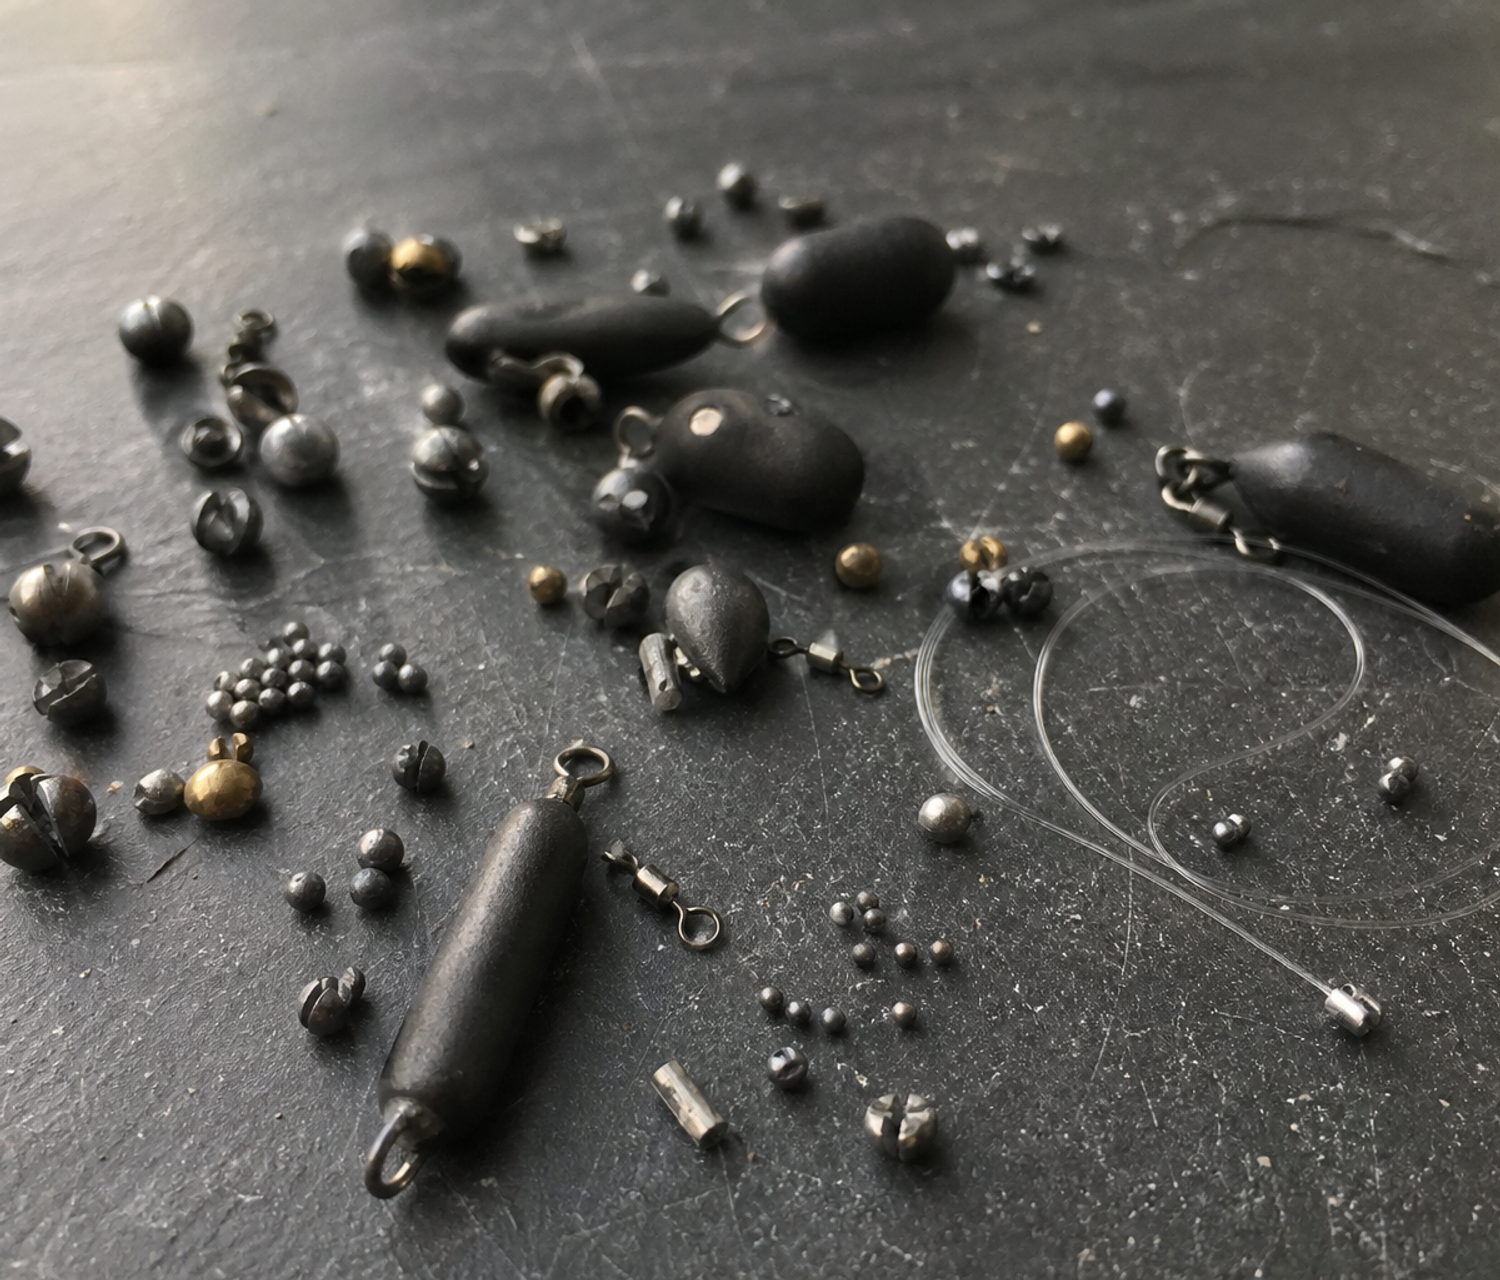
Locking shot are the split shot pinched onto the line either side of the float adaptor. Their job is simply to hold the float firmly in position on the line so that it does not slide up or down during casting or retrieval. These shot also contribute to cocking the float (see below).
Bulk shot are a cluster of weights placed further down the line, roughly two-thirds of the way between the float and the hook. Their purpose is twofold: they provide most of the weight needed to cock the float correctly, and they pull the bait down quickly through any small fish feeding near the surface. Without bulk shot, the bait would fall slowly through the water column and be intercepted by fish well above the bottom before ever reaching your target depth.
Dropper shot are two or three small shot (usually No.8s) spaced out in the last 30 to 40 cm of line above the hook. They slow the bait's fall through the final part of the water column, making it look more natural, and they are sensitive enough to transmit subtle bites to the float tip. If a fish lifts the lowest dropper (sometimes called the tell-tale shot) off the bottom, the float tip will visibly rise rather than dip, which is a clear signal to strike.
The hooklength is a short length of lighter monofilament that connects the main rig to the hook. It is lighter than the mainline deliberately: if the hook snags on weed or debris, the hooklength breaks first, and you lose only the hook and a short length of line rather than the float and all the shot above it. A lighter, finer line close to the hook also presents the bait more naturally, which matters more than you might expect when fish are cautious.
Barbless hooks are hooks without a barb, which is the small backward-facing spike that traditional hooks use to prevent a fish from shaking free. Barbless hooks penetrate more easily, hold adequately when steady pressure is maintained on the line, and allow you to unhook a fish quickly and with minimal handling. Most commercial fisheries require barbless hooks as a condition of fishing, so use them from the start.
| Component | What it does | Typical starter size |
|---|---|---|
| Waggler float | Signals bites; provides casting weight | 2–3 AAA rated |
| Locking shot | Fixes float position on line | 1–2 AAA |
| Bulk shot | Cocks float; gets bait down fast | Several No.4 or No.6 grouped together |
| Dropper shot | Slows bait; shows shy bites | 2–3 No.8 spaced 10 cm apart |
| Hooklength | Lighter line from swivel to hook | 0.12–0.14 mm, 25–30 cm long |
| Hook | Holds the bait | Size 16–18 barbless |
How to set up your float fishing rod, step by step
Work through these steps in order. Each one builds on the last, and skipping ahead can mean having to take things apart and start again.
Step 1: Assemble the rod and fit the reel
Most float rods come in two or three sections that fit together via ferrules (the tapered joint where one section slides into the next). Hold the sections so that the rod rings, sometimes called guides, form a straight line along the underside of the rod, then push the sections together with a gentle twist. Do not force them; a firm seat is enough. Over-tightening ferrules can make them difficult to separate after a session.
Once the rod is assembled, slide the reel into the reel seat above the handle. The spool should face upward along the rod so that line flows off it smoothly toward the first ring. Tighten the locking rings finger-tight. A reel that moves during casting will affect your control.
Before threading the line, open the bail arm (the wire arm on the reel that flips back to allow line to run freely). This saves you having to reopen it partway through threading.
Step 2: Thread the line through the guides
Pull line from the spool and feed it through each ring from the large butt ring nearest the reel right up to the small ring at the rod tip. Missing a ring is one of the most common beginner errors and results in drastically reduced casting distance and control. Count the rings before you start, then count again as you thread to make sure each one has been included.
Once the line is through every guide, close the bail arm. You should now have a length of line hanging from the rod tip, ready for the rig to be built.
Step 3: Attach the waggler with a float adaptor
A float adaptor is a small plastic or rubber fitting that threads onto the mainline. The waggler's bottom eye clips into the adaptor's loop or slot, and the whole assembly is locked in place with two AAA shot pinched onto the line, one on either side of the adaptor.
This method is recommended for beginners because it lets you swap floats in a matter of seconds without cutting the line. The alternative, threading the line directly through the float's bottom eye and locking it with shot on each side, works perfectly well but means cutting the line every time you change float.
After locking the adaptor in place, check that only the weight the float still needs (the remaining shot capacity minus the locking shot) is left to be distributed below the float. A 3 AAA rated float with two AAA locking shot has roughly 1 AAA worth of weight left to place lower on the line.
Step 4: Add the bulk and dropper shot
Place the bulk shot, the majority of the remaining weight, about two-thirds of the way down the line between the float and the point where your hooklength will be attached. Group them closely together rather than spreading them out. This cluster of weight does two things: it cocks the float (pulls it upright so that only the coloured tip sits above the surface) and it gets the bait down quickly through any small fish near the surface.
Cocking the float correctly is worth pausing over. The tip of the waggler should sit just above the waterline, visible but not protruding more than a centimetre or two. If too much tip shows, the float is under-shotted and bites may not register clearly. If the float sits too low or disappears, it is over-shotted and the float will not behave naturally. You will fine-tune this in the water, but getting close at this stage saves time later.
Next, pinch two or three No.8 dropper shot onto the line in the final 30 to 40 cm above where the hooklength will connect, spaced roughly 10 cm apart. The lowest of these is your tell-tale shot; if a fish picks the bait up off the bottom, this shot is lifted and the float tip will rise rather than dip.
Building a simple waggler rig
Attach the float adaptor
Thread the adaptor onto the line and clip in the waggler. Lock it in place with two AAA shot, one on each side of the adaptor.
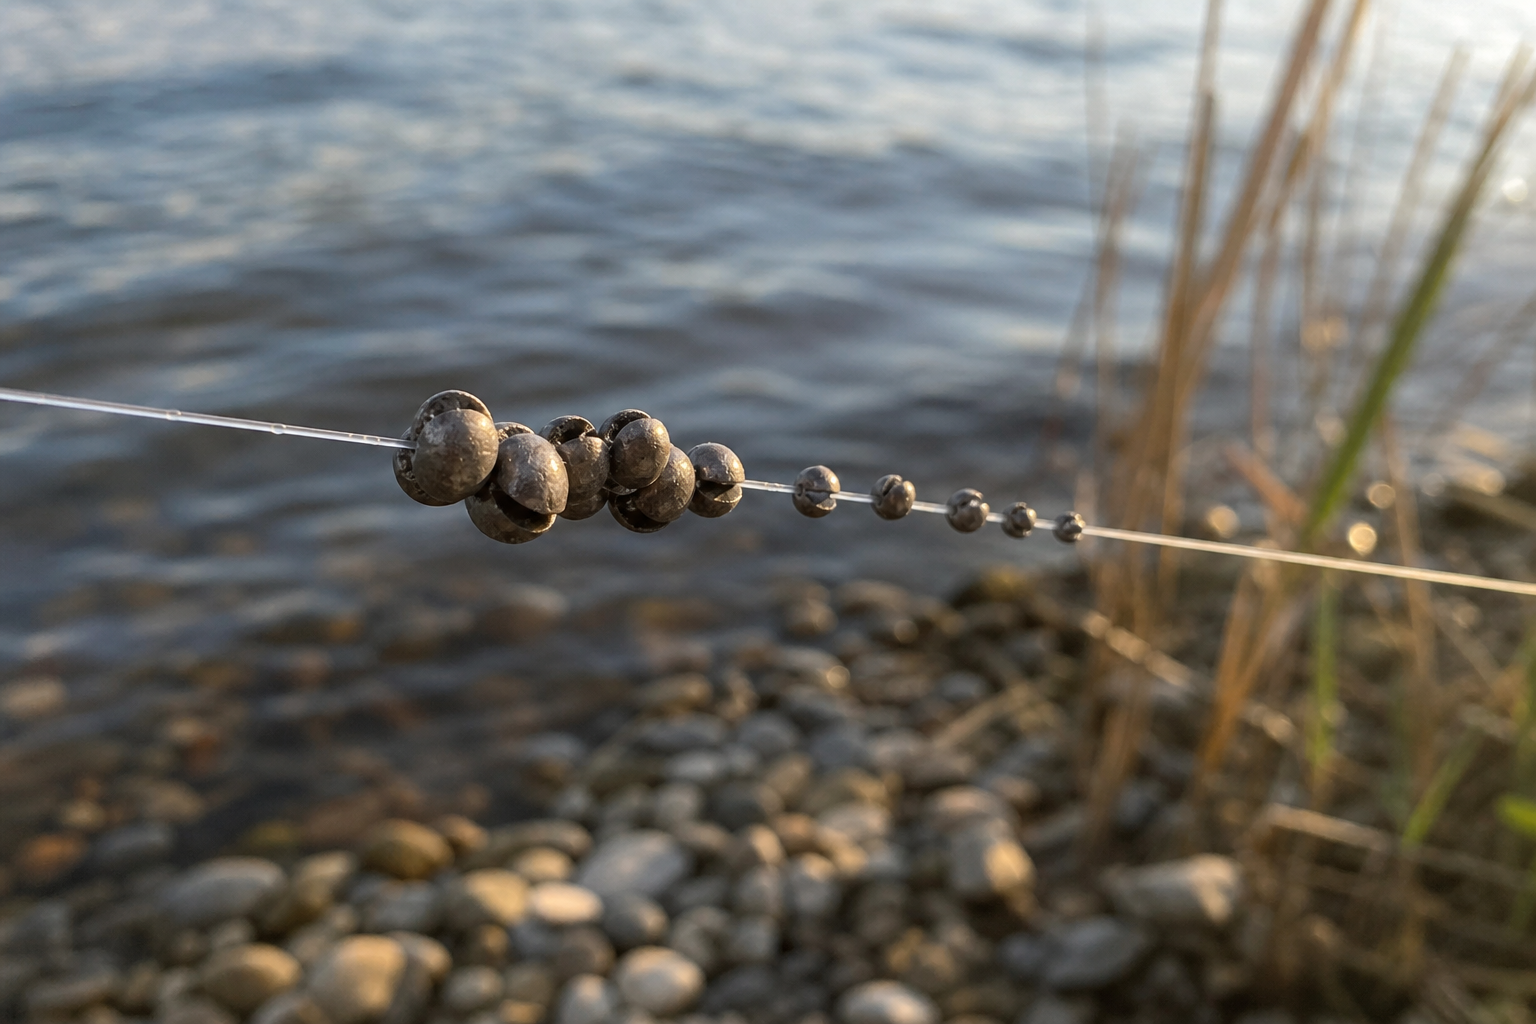
Add the bulk shot
Group most of the remaining required weight two-thirds down the line. This cocks the float and gets the bait down through surface fish.
Space the dropper shot
Place two or three No.8 shot in the last 30–40 cm of line, evenly spaced. These slow the bait's fall and show shy bites on the float tip.
Connect the hooklength
Attach a 25–30 cm length of lighter mono (0.12–0.14 mm) using a small swivel or loop-to-loop join. This lighter section breaks first if you snag, saving the rest of the rig.
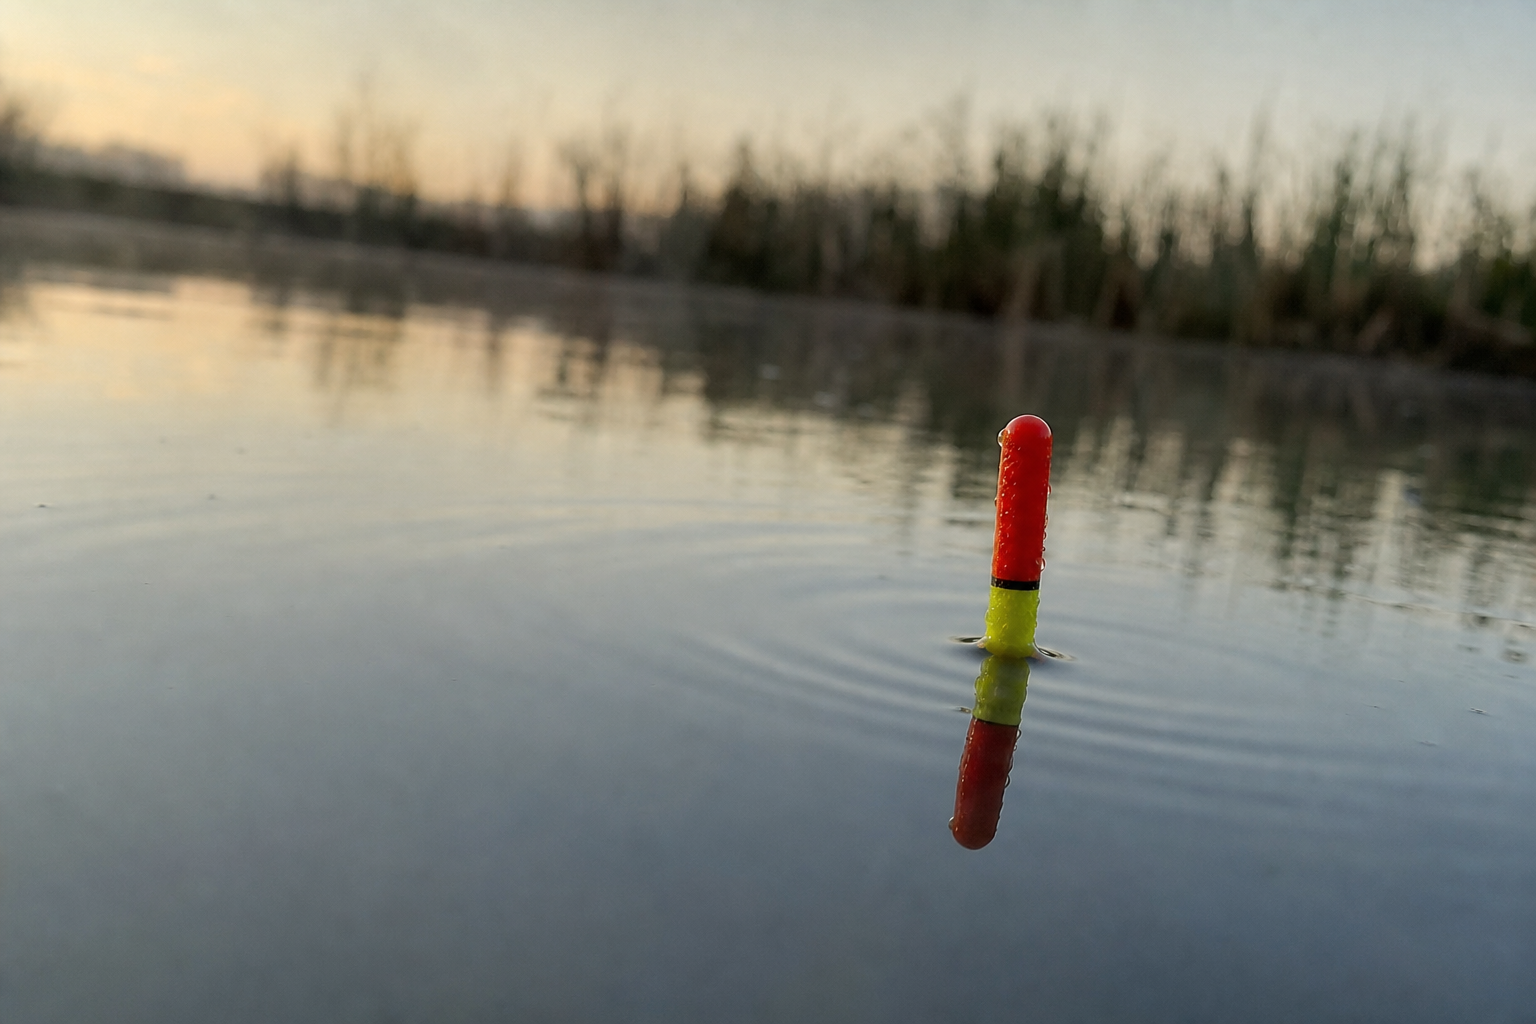
Check the float sits correctly
The waggler tip should be just visible above the surface with all the shot on. Adjust shot if too much or too little tip is showing before you find depth.
Step 5: Attach the hooklength
A pre-tied hooklength, a short length of 0.12 to 0.14 mm line with a barbless hook already attached, is the sensible choice for a first session. Tying hooks correctly takes practice, and a pre-tied hooklength removes one variable while you are getting used to everything else.
Attach the hooklength to the end of the mainline using a small swivel tied on with a double-grinner knot, or with a simple loop-to-loop connection if your hooklength has a loop at its top end. The swivel has an additional benefit beyond the connection: it reduces line twist that can accumulate during casting and retrieval.
For hook size, a size 16 or 18 barbless covers most stillwater situations with maggot or caster as bait. If you are using sweetcorn or a small pellet, a size 14 is a better match for the bait size.
Step 6: Find the depth with a plummet
A plummet is a small weighted clip that attaches to your hook by pushing the hook point through a rubber or cork pad inside the weight. Once attached, it simulates the bait resting on the bottom and lets you work out exactly how deep the water is where you are fishing.
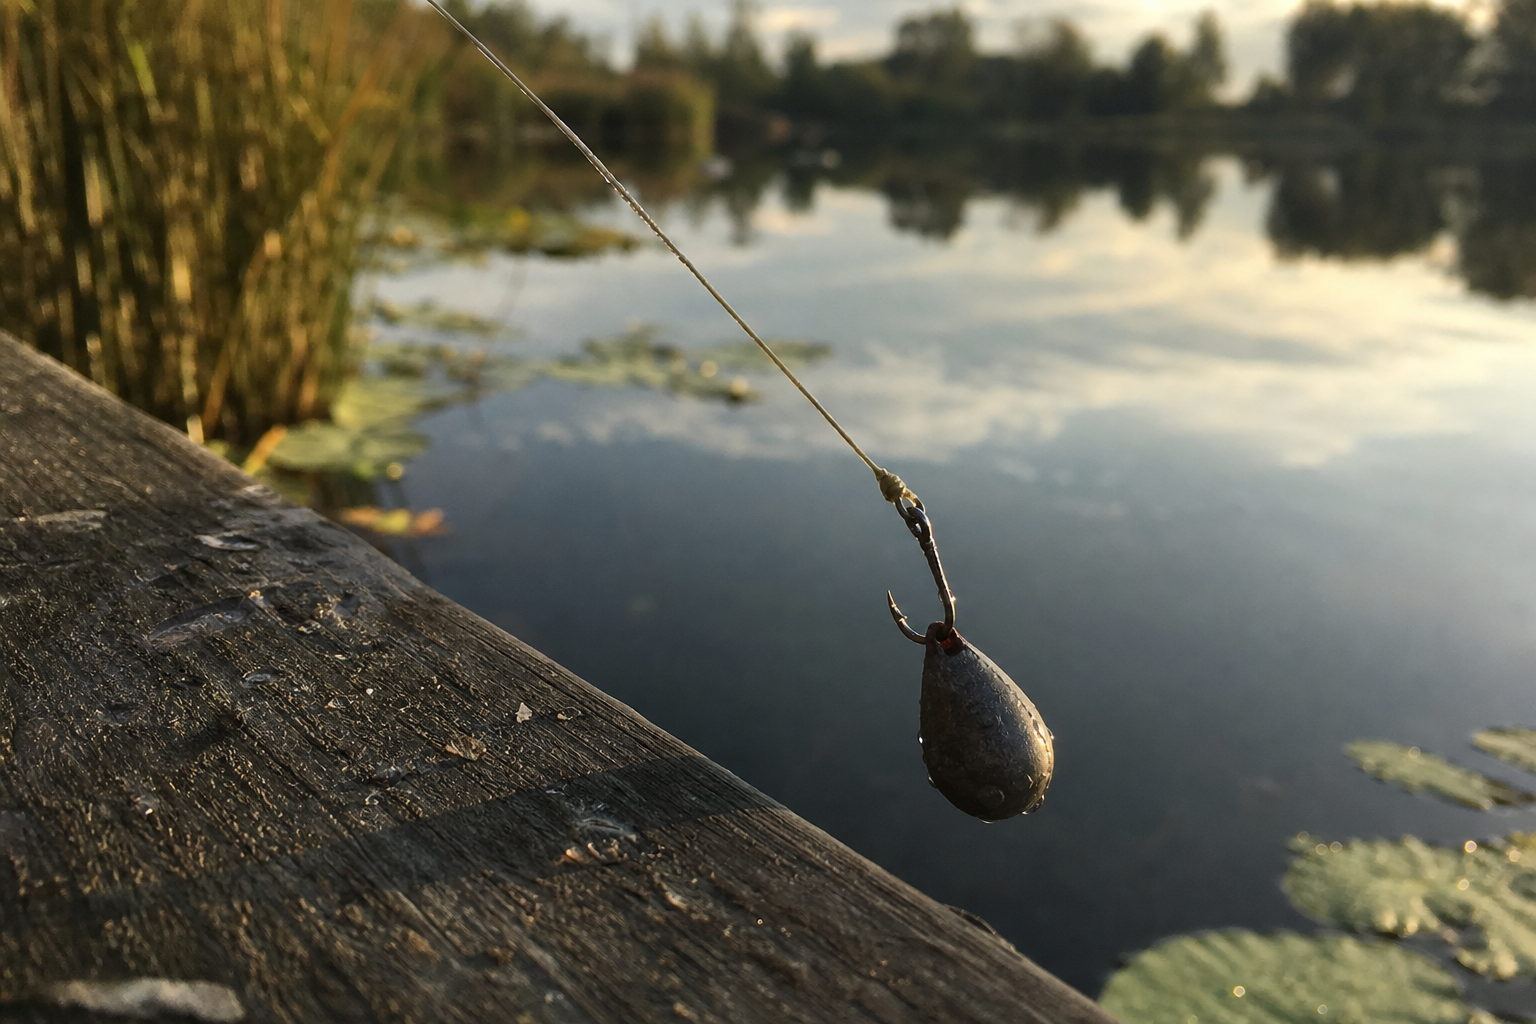
Clip the plummet onto the hook, cast gently to the spot you plan to fish, and watch the float. There are three possible outcomes:
- The float disappears completely: the depth setting is too shallow. The plummet is touching the bottom but pulling the float under because there is not enough line between the float and the hook. Slide the float further up the line (away from the hook), which lets more line out below the float.
- The float lies flat on the surface: the depth setting is too deep. There is more line between float and hook than there is water, so the line is slack on the bottom and the plummet is not pulling the float upright. Slide the float down the line (toward the hook).
- The float cocks correctly, sitting upright with just the tip showing: you have found the depth.
Once the float is sitting correctly with the plummet on, move the float up the line by a further 10 to 15 cm. This overdepth setting means your bait will rest gently on the bottom rather than being suspended just above it, which is the standard starting point for most stillwater waggler fishing. Remove the plummet before casting to fish.
Step 7: Cast, watch and strike
For most stillwater waggler fishing at short to medium range, a smooth underarm or gentle overhead cast is entirely adequate. A hard, aggressive cast is not needed and is more likely to cause the rig to tangle. Think of it as a controlled lob rather than a throw.
As the float lands, dip the rod tip just below the surface and give a short, sharp flick to sink the line between the rod tip and the float. This stops the wind from pushing the floating line across the water and dragging the rig out of position, a technique sometimes called sinking the line.
Watch the float tip carefully. The two most common bite signals on a waggler are:
- A dip or slide away: the float moves downward or across the surface, indicating a fish has taken the bait and is moving away with it.
- A rise (a lift bite): the float tip rises higher than normal, indicating a fish has picked the bait up off the bottom and lifted the tell-tale shot. This is easy to miss if you are not watching for it.
To strike, lift the rod firmly and smoothly rather than with a sweeping hook-set. At close range with a small hook, a steady upward lift is enough to set the hook. Striking too hard can break the hooklength or pull the bait straight out of the fish's mouth.
Before you fish: licences, close seasons and fishery rules
Getting your rig built is one part of preparation. The other is making sure you are fishing with the correct permissions and in the right season.
Rod licence: A rod licence is a legal requirement for anyone aged 13 or over fishing in England. You can buy one directly from the Environment Agency before your session, either as an annual licence or a short-term option. Children under 13 do not need a licence; 13 to 16 year olds need one, but it is free. Keep it accessible on the day; you may be asked to show it.
Close season: The statutory coarse fishing close season in England runs from 15 March to 15 June inclusive, but it applies to rivers, streams and drains, not to most stillwaters. The majority of day-ticket lakes and commercial fisheries are open year-round. That said, always check with your specific venue, as individual fisheries occasionally set their own closed periods. Wales follows the same close season rules as England for rivers. Scotland and Northern Ireland have different arrangements: anglers in Scotland should check with Fisheries Management Scotland, and those in Northern Ireland with DAERA.
Permission to fish: A rod licence covers the legal right to fish with a rod and line. It does not give access to any water. You also need a day ticket or club membership for the specific venue, and you must follow that fishery's own rules on hooks, nets and baits.
Fishery rules: Day-ticket lakes and commercial fisheries set their own rules, and these are not optional. Barbless hooks are required at virtually every commercial fishery. Many venues specify landing net type, require an unhooking mat for larger fish, and restrict certain baits. Find the rules before you go: most fisheries publish them on their website, or you can call ahead. There will usually also be a notice board at the car park or the fishing lodge.
Simple adjustments when things are not working
Even with a correctly built rig, the first session rarely goes exactly to plan. Here are the most common problems and what to do about them.
The float keeps dragging or moving in a breeze
Wind pushes the floating line between the rod tip and the float across the surface, pulling the rig out of position. The fix is to sink the line immediately after the float lands: dip the rod tip below the surface and give a short, sharp pull to drag the line under the water. Once the line is submerged, it is largely unaffected by surface wind.
You are getting lots of bites but missing them
If the float is dipping but you keep striking into nothing, the most likely cause is small fish intercepting the bait as it falls before it reaches the bottom. Move the bulk shot slightly further down the line, closer to the hooklength, so the bait gets through the upper water column faster. You can also try a smaller bait on a smaller hook, which is easier for fish to take cleanly.
No bites at all
First, check that the bait is actually reaching the bottom at the depth you set. If the float has drifted into slightly shallower water, the rig may be dragging on the lakebed rather than fishing properly. Re-plumb if you are unsure. Also check that the hook is baited correctly and that the bait has not been nibbled off without you noticing. If everything looks correct but nothing is happening, try moving the float down the line by 5 to 10 cm so the bait is just off the bottom rather than resting on it, which can encourage more wary fish to take.
The line keeps tangling around the float
Tangles in flight are almost always caused by casting too hard or too fast. The rig collapses on itself mid-air and the line wraps around the float before everything lands. Slow the cast down and aim for a smooth, controlled release. Also check that the dropper shot are evenly spaced: shot that are bunched too closely together can catch on each other during the cast and cause the same problem.
Float fishing on a calm stillwater is one of the more enjoyable ways to spend a few hours outdoors, and there is real satisfaction in putting together a rig that works and reading it correctly. The setup described here will get you fishing effectively on your first visit. The adjustments come naturally with a little time at the water.
Frequently asked questions
What is the simplest float rig for stillwater beginners?
A single waggler rig is ideal. It clips to the mainline with a float adaptor, uses locking shot, a bulk shot cluster, dropper shot and a 25–30 cm barbless hooklength.
How do I find the correct depth?
Attach a plummet to the hook, cast to your spot and watch the float. Move the float up if it dives or down if it lies flat. Once cocked correctly, raise the float 10–15 cm for a standard overdepth.
What shot sizes and placement should I use?
Use AAA locking shot either side of the adaptor, a grouped cluster of No.4 or No.6 as bulk about two-thirds down the distance to the hook, and two or three No.8 droppers spaced in the final 30–40 cm.
Why use a lighter hooklength and barbless hooks?
A lighter hooklength breaks first if snagged, saving the rest of the rig and presenting bait more naturally. Barbless hooks penetrate easily, reduce handling time and are required at most commercial fisheries.
How can I stop the float dragging in wind?
After the float lands, dip the rod tip below the surface and give a short, sharp pull to sink the line between the rod tip and the float. This keeps the line submerged and reduces wind drift.
Lake & Lines Editorial Team
Editorial team
The Lake & Lines editorial team brings together freshwater fishing guides and researched tackle advice, helping beginners and returning anglers prepare for better days by the water.