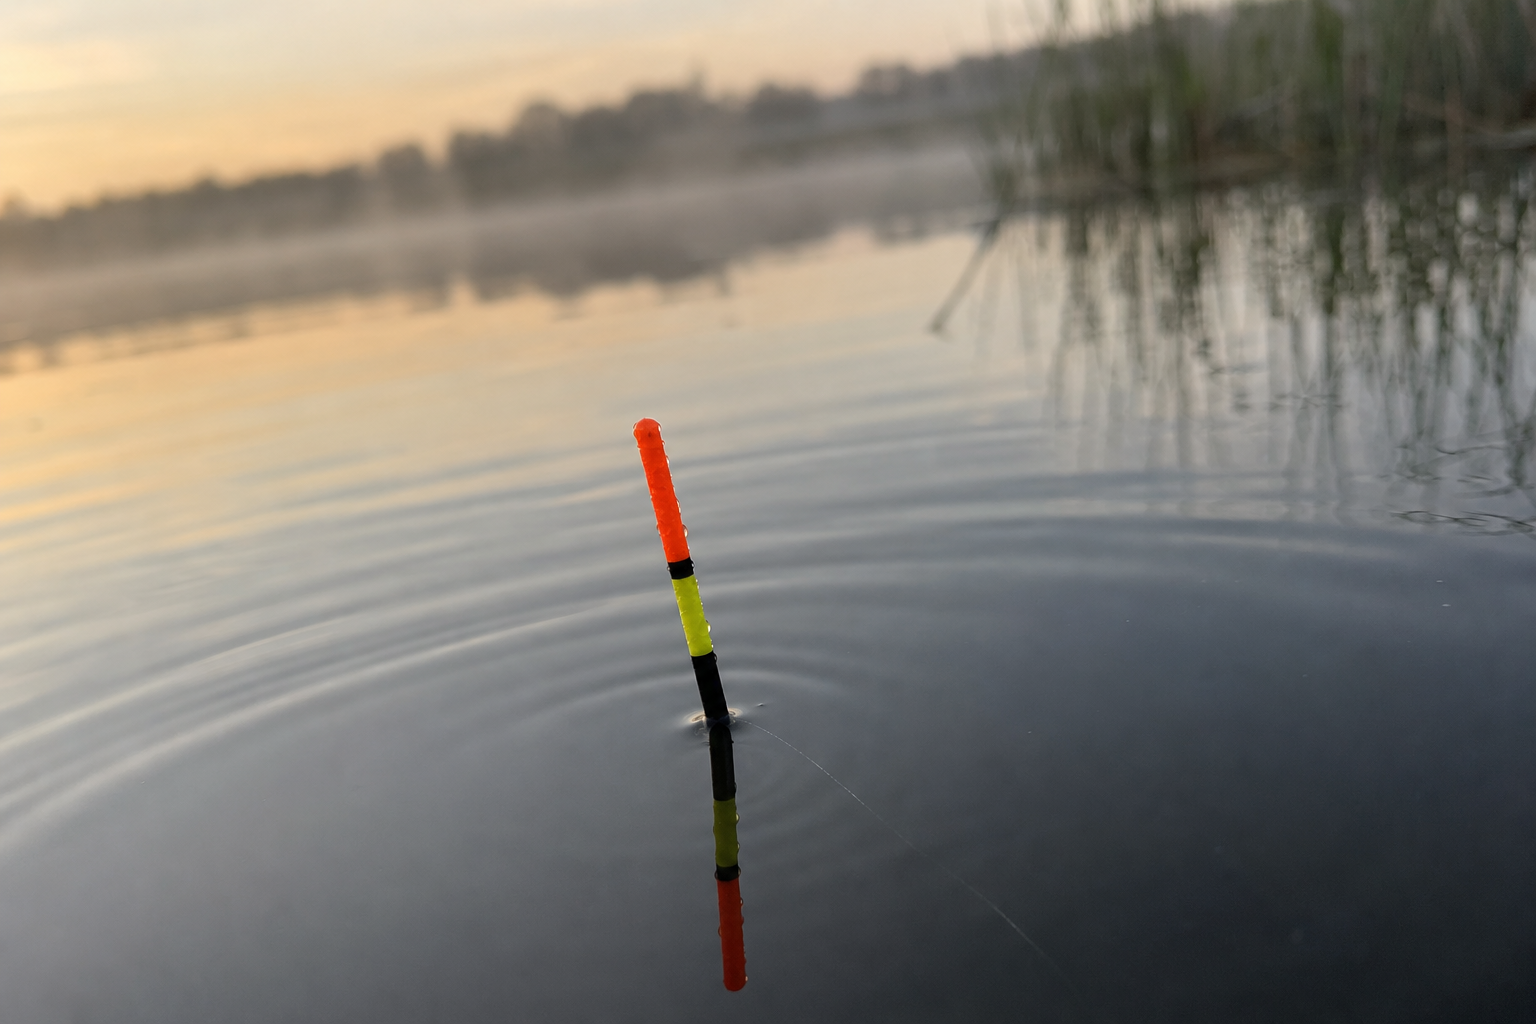
How to plumb the depth for float fishing
Use a plummet to find dead depth — when only the float tip shows — then adjust a few inches to fish on, just off, or over the bottom. Re‑plumb when you move, when conditions change or bites go quiet.
At a Glance
- Plumb the depth by clipping a plummet to the hook, lowering the rig and adjusting the float until only the coloured tip is visible (dead depth).
- Use dead depth as a baseline then move the float a few inches to fish on the bottom, just off the bottom or over-depth as required.
- Plumb two or three distances along your line to map contours and note shallow shelves, drop offs and holes.
- Re-plumb when you change position, when wind or conditions alter, or if bites become hesitant.
- In wind or at distance use heavier floats, better shot distribution or sheltered spots; rivers need different techniques due to current.
You are at the water. Your float rig is assembled, the hook is tied, and you are ready to start fishing. Before you cast out and wait for a bite, there is one step that most experienced anglers on UK stillwaters will tell you to do first: plumb the depth.
Plumbing the swim means measuring the actual water depth at your chosen spot and adjusting your float so the bait sits at a precise level in the water column. On a commercial fishery or club lake, where bottom-feeding species such as bream, tench and carp are the usual target, getting the depth right before you start fishing is one of the most consistently useful habits you can develop. Bait that is sitting too high in the water may simply be ignored by fish feeding close to the bottom. Bait dragging along the lakebed can make the float behave poorly and bites harder to read. A few minutes spent plumbing accurately at the start of a session makes everything that follows easier.
This guide covers how to plumb the depth on a stillwater using a float rig. Rivers introduce different considerations, and there is a short section on those at the end. If you have not yet put your rig together, the float fishing setup and rig assembly process is worth working through before you continue here.
What you need before you start
You do not need any special equipment beyond your assembled float rig and one additional item. Before you lower the rig into the water for the first time, make sure you have the following:
- A float rig already assembled with main line, float, shot, hooklength and hook
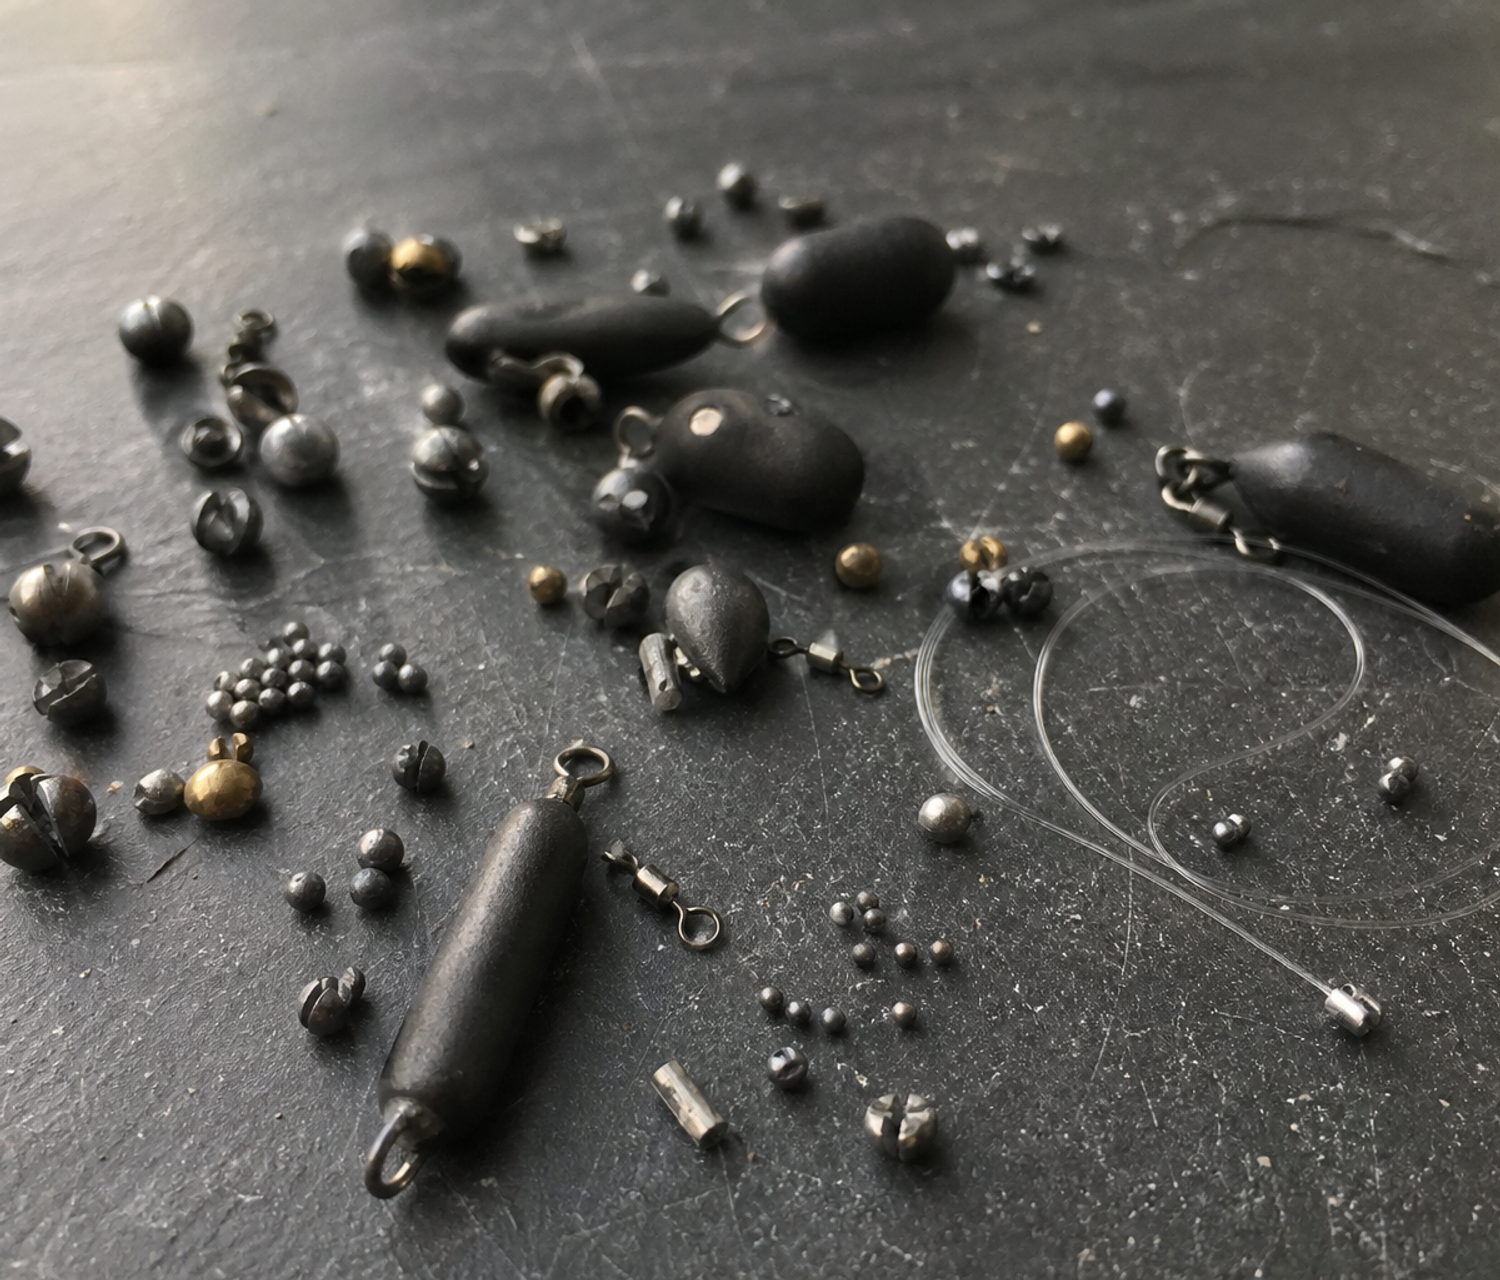
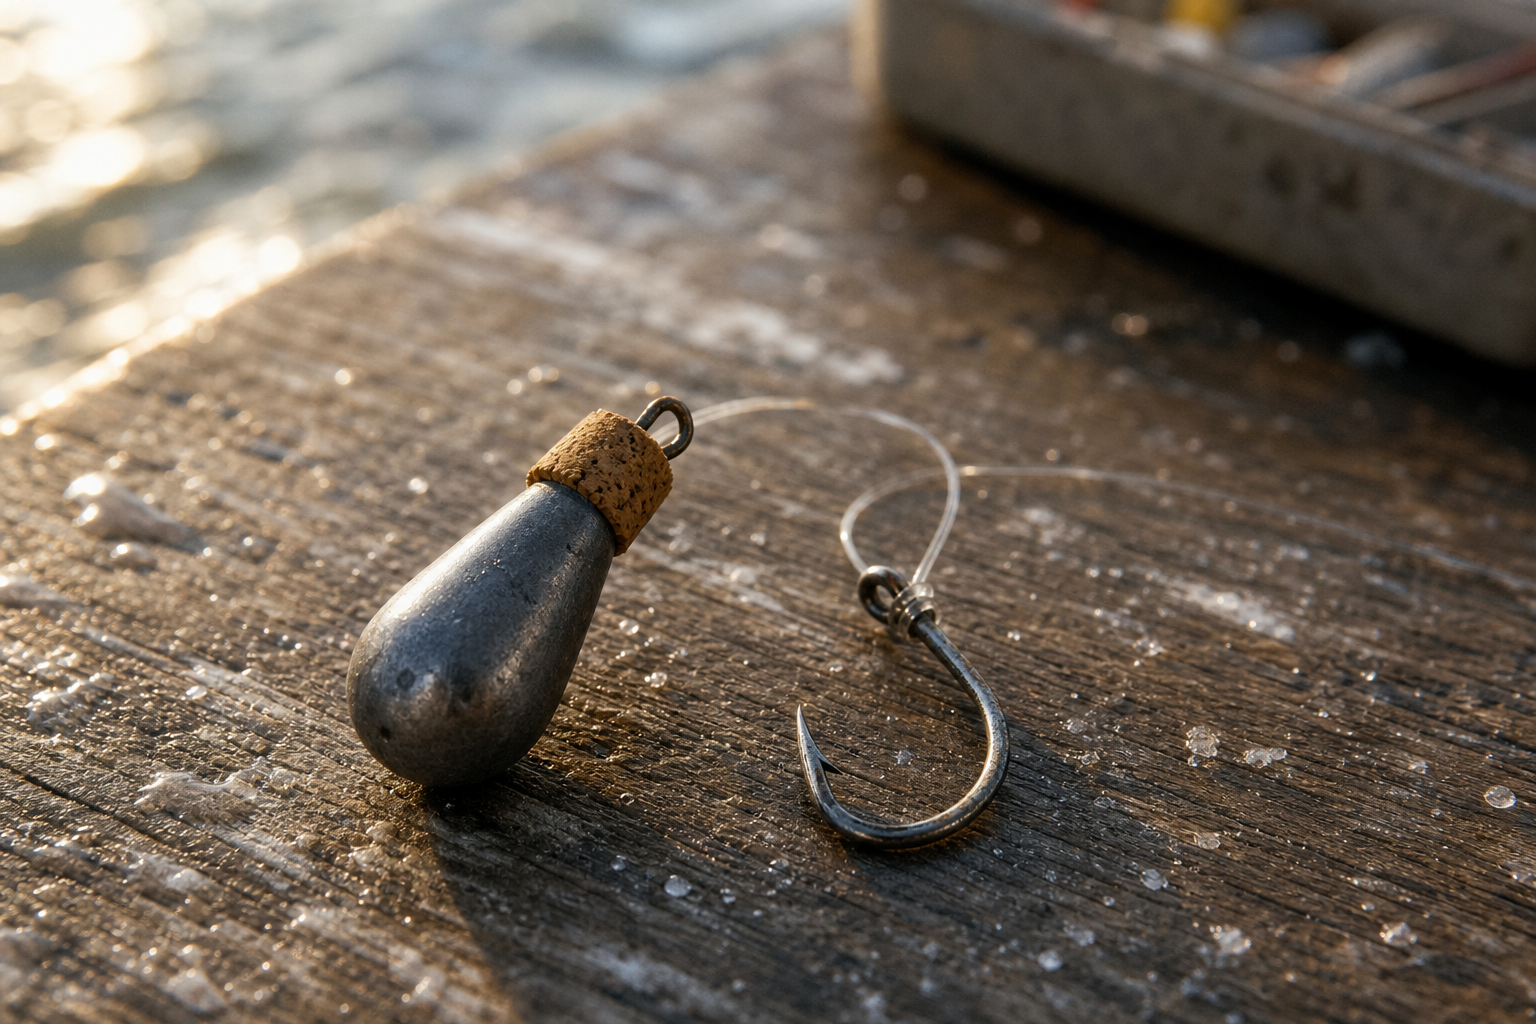
- A plummet: a small, clip-on weight with a cork or rubber insert, used only for measuring depth
- A rod with the line threaded through the rings and ready to fish
Your float should be partially shotted before you begin plumbing. Partially shotted means you have enough split shot pinched onto the line that the float sits upright and responds sensitively to what is happening below the surface, but not so much shot that the float sinks or rides too low. A float that is not shotted up properly will give you a confused reading when you come to check the depth.
What a plummet is
A plummet is a small weight, usually with a cork or rubber insert, that you clip temporarily onto your hook. It is heavy enough to sink and hold its position on the bottom, which lets the float tell you exactly how deep the water is. You remove it once you have found the right depth.
How to plumb the depth, step by step
The process is more straightforward than it looks the first time. Work through each step in order and you will have a reliable depth reading within a few minutes.
Plumbing the depth
Set an initial float depth
Slide your float up the line to give roughly 3 feet between the float and the hook as a starting point on a typical commercial or club lake. This is only a first estimate; you will refine it.
Attach the plummet
Push the hook point firmly into the cork or rubber insert in the plummet so it is secure. The plummet should hang from the hook rather than slide off.
Lower or cast the rig into your swim
Gently lower or cast the rig to the spot you plan to fish. Allow it to sink and settle without reeling in any slack.
Read what the float is doing
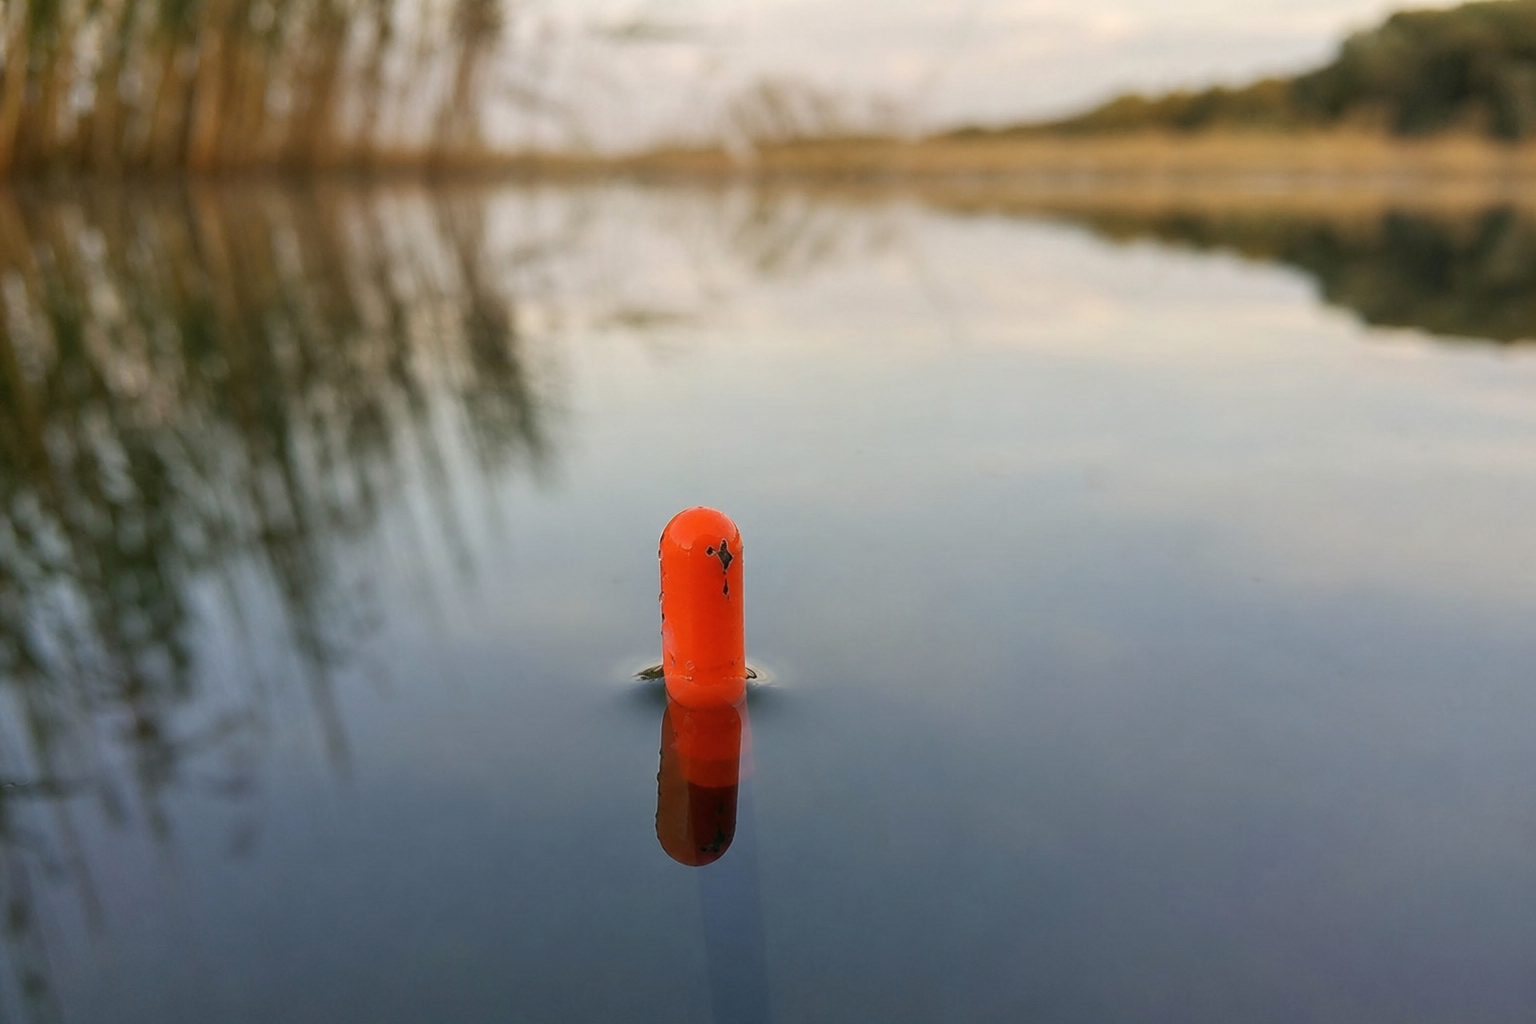
Watch the float carefully. It will tell you whether your depth setting is too shallow, too deep, or correct. See the guide below.
Adjust the float and repeat
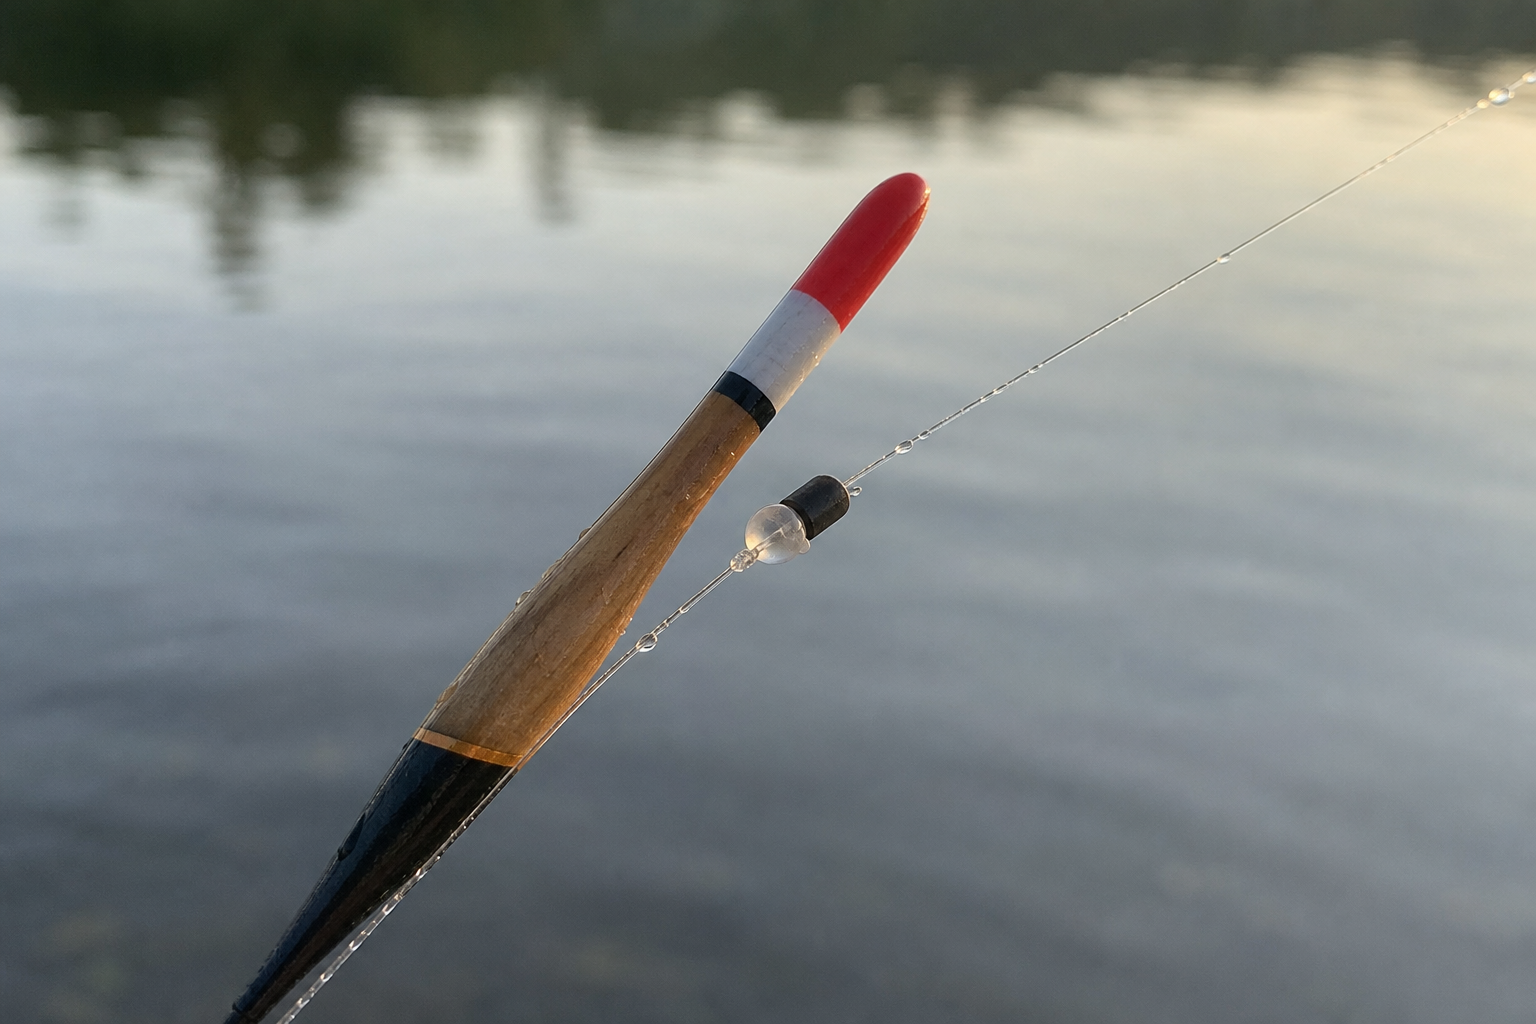
Slide the float up the line (to fish deeper) or down (to fish shallower), lower the rig again, and read the float once more. Repeat until the float sits with only the coloured tip just showing above the surface.
Remove the plummet and set your fishing depth
Once you have found dead depth, remove the plummet and adjust from there to your intended fishing depth.
Reading what the float tells you
The float's position when the plummet is resting on the bottom is your key piece of information. Each of the three possible outcomes tells you something specific, and each has a clear remedy. Use the table below to match what you are seeing to the adjustment you need to make.
| Float behaviour | What it means | What to do |
|---|---|---|
| Float sinks or buries completely | Rig is set too shallow; the plummet is pulling the float under | Slide the float up the line to add depth, then test again |
| Float lies flat or stands very high out of the water | Rig is set too deep; the plummet is on the bottom with slack line, so the float is not under tension | Slide the float down the line to reduce depth, then test again |
| Only the coloured tip is just visible at the surface | Dead depth; the plummet is resting on the bottom and the float is correctly cocked | This is your reference point; now set your fishing depth from here |
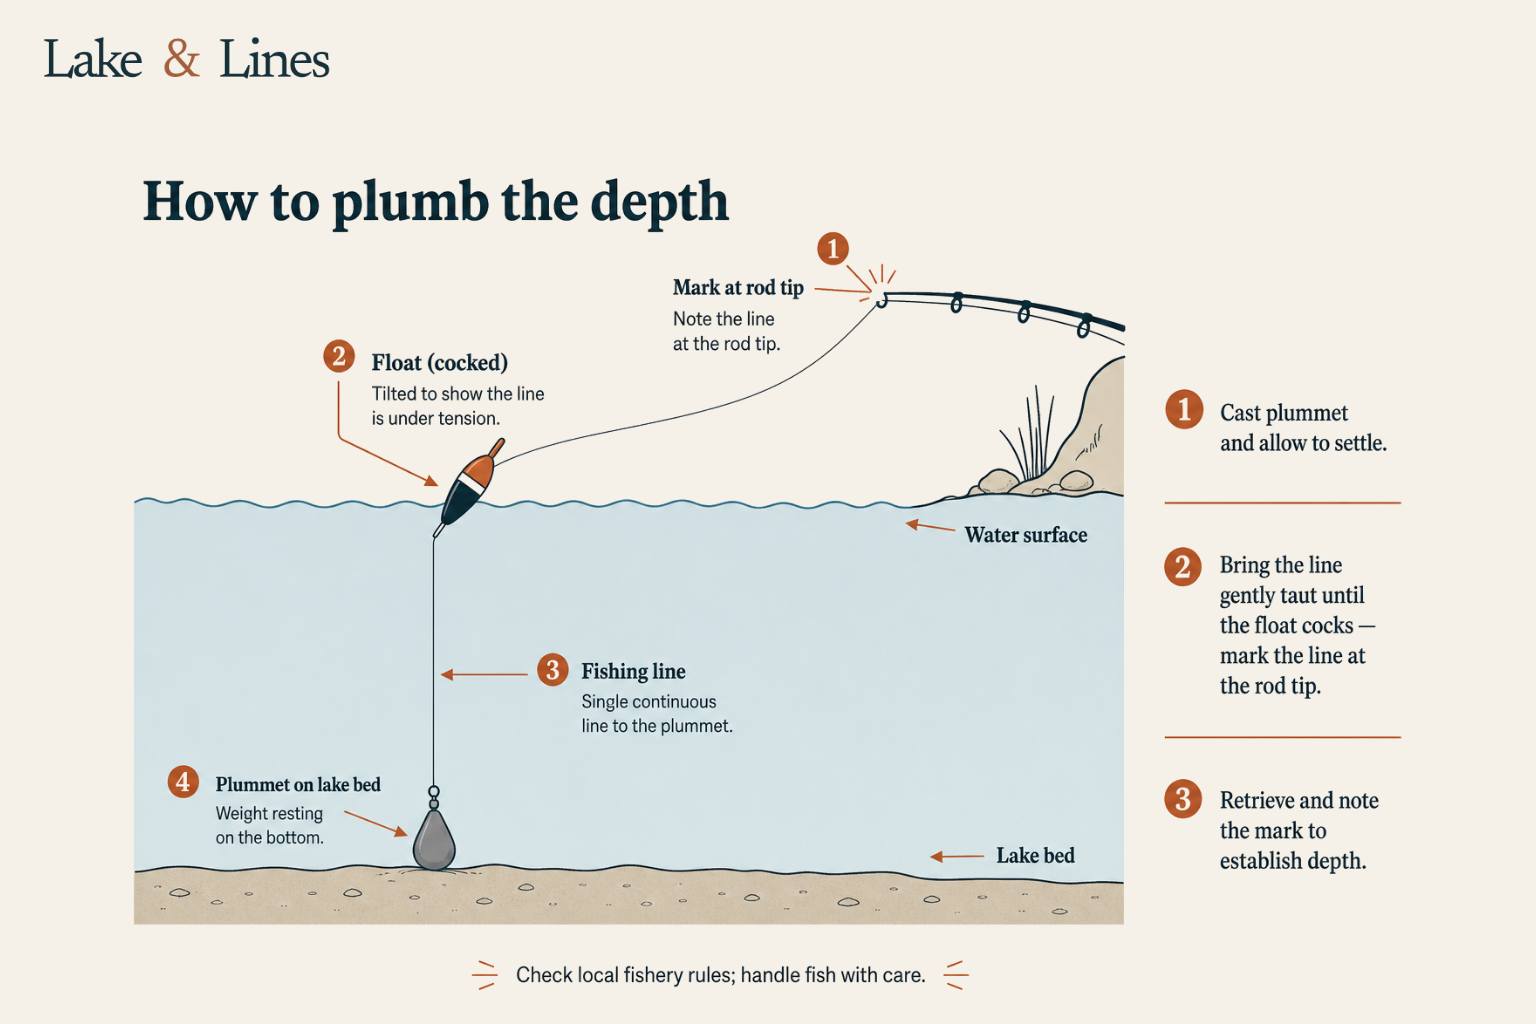
The point at which only the coloured tip is just visible is called dead depth. At dead depth, the distance between your float and your hook matches the actual depth of the water at that spot. It is your baseline for everything that follows.
Setting your fishing depth from dead depth
Dead depth is a reference point, not a fishing setting. Once you have found it, you adjust the float slightly to place the bait where you want it in the water column. The right position depends on the species you are targeting and the conditions on the day, but the table below gives useful starting points for most stillwater sessions.
| Setting | How to get there | Suited to |
|---|---|---|
| On the bottom | Move the float down the line by about 1 inch from dead depth | A straightforward starting point for most bottom-feeding species on still water |
| Just off the bottom | Move the float up the line by 2–4 inches from dead depth | Often encourages more confident takes, particularly on commercial fisheries where fish may graze slightly above the silt |
| Bait laid on (over-depth) | Add roughly 6 inches to dead depth so the bait lies on the bottom with a little slack hooklength | Can suit cautious fish or soft silt bottoms; the float will sit lower than usual |
These are practical starting points drawn from common UK stillwater practice. They are not fixed rules, and the right setting for your session may be different. Treat them as a sensible place to begin rather than a guaranteed outcome.
Mapping your swim
Plumbing one spot gives you a single depth reading, but the bottom of a lake is rarely flat. A commercial fishery peg might shelve off steeply a few feet from the bank, level out in the middle, and then drop away again further out. Fishing blind to those features means you could be placing your bait over ground that is completely different from what you expect.
A useful habit is to plumb two or three spots along your intended fishing line before you start. For example, lower the plummet at two rod lengths out, then four, then six. Note the rough depth at each distance: something as simple as "2 rods: 3 feet; 4 rods: 5 feet; 6 rods: 4 feet" jotted on a scrap of paper is enough to build a simple picture of what the bottom is doing.
Features worth identifying include a shallow shelf close to the bank, a drop-off where the bottom falls away into deeper water, any holes or dips in an otherwise even bottom, and the depth of the margins on each side of your peg. Fish often patrol these transitions, particularly where a shallow shelf meets deeper water.
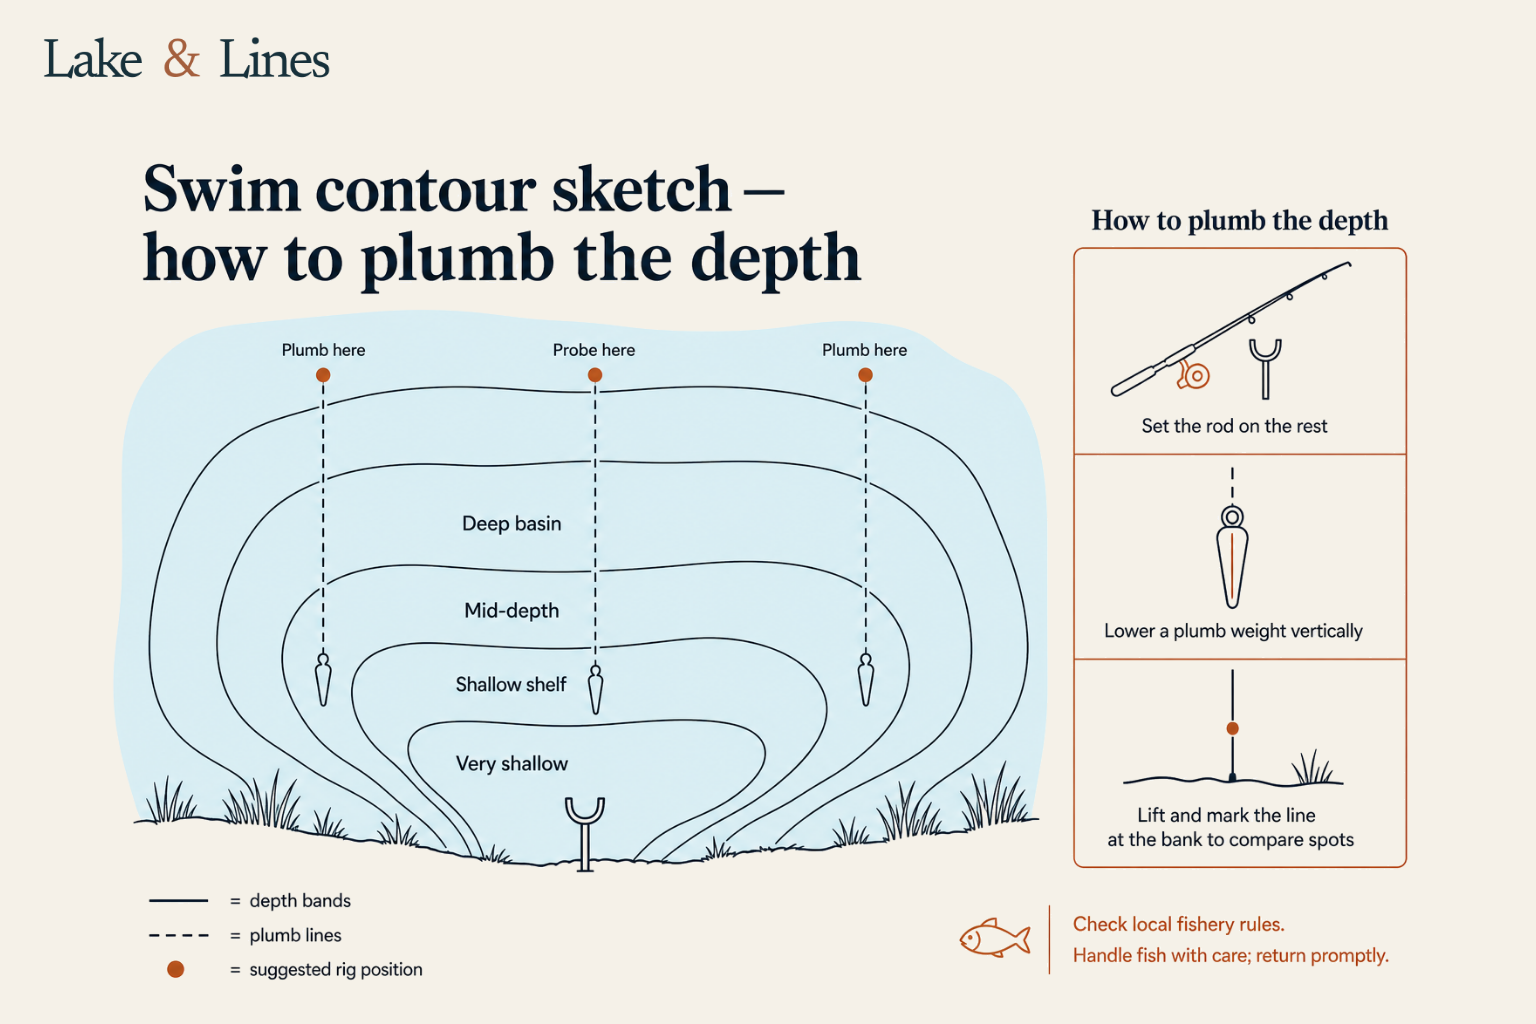
If you fish the same peg again in a future session, those notes are a useful head start. That said, depths can change between visits, so it is always worth a quick check rather than relying entirely on previous readings.
Why depths change between sessions
Water levels on managed fisheries can rise or fall by several inches between visits. Silt shifts, weed grows and dies back, and seasonal rainfall affects how full a lake is. Even if you have fished a peg before, plumbing at the start of each session takes only a few minutes and avoids fishing at the wrong depth from the outset.
Adjusting depth during your session
Plumbing is not a one-off task you do at the start and then forget. Depth is a variable you can adjust throughout a session, and making small changes in response to what the fish are doing is one of the most practical things you can do when bites slow down or disappear.
If bites become hesitant or you are missing takes, try shallowing up by 1 or 2 inches at a time. A small upward adjustment can be enough to move the bait from a position where fish are brushing past it to a position where they are taking it more confidently.
If there are no bites near the bottom at all, it can be worth exploring the water column upwards in layers, particularly when fishing for roach or when you can see fish moving near the surface. Shallowing up progressively in steps of a few inches allows you to work through the swim methodically rather than guessing.
In cold conditions, fish sometimes sit slightly higher off the bottom than you might expect. UK guides often suggest that shallowing up by a couple of inches is worth trying when the water temperature drops and bottom-feeding activity becomes sluggish. It is one of the first adjustments to make if the session is quiet and the bottom is producing nothing.
Re-plumb whenever you move to a different spot in your swim, when you change peg entirely, or if the wind picks up significantly and starts to affect the way the float sits. If you are not sure whether the float is behaving oddly because of wind or because of a depth issue, a quick check with the plummet will tell you. Missing bites with a float rig can have several causes, and depth is often one of the first things worth reviewing when a session goes quiet.
Plumbing in difficult conditions
Wind and surface tow
Wind pushing across the surface creates tow, which drags the float off position and makes it much harder to read accurately. In a light breeze, this may be barely noticeable. In a stronger wind, the float can be pulled several feet from where you placed it before the plummet has had time to settle.
Practical responses include using a heavier float that is less easily shifted, making sure your shot is distributed well down the line rather than bunched close to the float, and holding slight tension on the rod tip to keep the line between the float and the hook more direct. Where possible, plumb in the most sheltered corner of your swim first. This gives you a useful starting depth even if the more exposed areas remain difficult to read precisely.
Plumbing at longer distances
At longer range, casting a standard plummet can be awkward. Plummets are designed to be lowered or cast at comfortable distances, and at range they can be difficult to read accurately because the line angle changes and small errors in float position become harder to spot.
Some guides suggest using a pair of large shot on a bait band as a substitute for a dedicated plummet at distance, or concentrating shot near the hook on a semi-loaded float to achieve a similar effect. These are useful options to know about, but for most beginners fishing at a sensible, comfortable distance on a commercial fishery, a standard plummet and careful observation will serve you well.
Rivers and moving water
The principles covered in this guide apply to stillwaters. On rivers, current changes everything. Flow pulls the line downstream, which alters the angle at which the float sits and makes reading a plummet much more difficult. The float can be dragged off position before the plummet has settled, or the line can bow in the current and give you a false depth reading.
Over-depth rigs, where the bait is set to lie on the riverbed with a little slack hooklength, are more commonly used in river float fishing partly because they are less affected by current than a precisely set mid-water or just-off-bottom presentation. Techniques such as trotting, where the float is allowed to travel downstream with the flow, rely on a feel for depth that develops gradually rather than from a single plumbing measurement.
If you are starting out on rivers, the stillwater plumbing technique here gives you a sound foundation to build on. River-specific guidance on reading the float in moving water is a separate subject and worth working through once you are confident with the stillwater approach.
Licences and fishery rules
In England and Wales, a rod licence is required to fish for coarse fish in rivers and most stillwaters. The licence is sold by the Environment Agency on GOV.UK. England and Wales share one rod licence, but their byelaws are set separately: the Environment Agency sets them for England, and Natural Resources Wales sets them for Wales. If you are fishing in Wales, the relevant byelaw authority is Natural Resources Wales, not the Environment Agency.
Scotland and Northern Ireland have their own licensing and regulatory arrangements. If you are fishing in either country, check with the relevant authority for the current requirements.
A rod licence is not the same as permission to fish a specific water. That permission comes separately, usually through a day ticket bought at the fishery or through club membership. Make sure you have both before you start.
Some fisheries, particularly those that host match or competition fishing, may have rules about when plumbing is permitted. On a competition day, there may be a set time at which plumbing is allowed to begin, or it may be restricted to a designated practice period. Check the fishery's own rules before your session to avoid any misunderstanding.
Frequently asked questions
What is dead depth when float fishing?
Dead depth is when the plummet is resting on the bottom and only the coloured tip of the float is just visible. At that point the distance between float and hook matches the actual water depth.
How do I plumb the depth on a stillwater?
Set an initial float depth (about 3 feet as a start), clip the plummet to the hook, lower or cast the rig, watch the float, and slide it up or down until only the coloured tip shows. Remove the plummet and set your fishing depth from that baseline.
When should I re-plumb during a session?
Re-plumb whenever you move to a different spot, change peg, notice the wind or surface tow affecting the float, or if bites become hesitant or disappear.
What should I do when wind creates surface tow?
Try a heavier float, spread shot down the line rather than bunched by the float, hold slight tension on the rod tip to keep the line direct, and plumb in a sheltered corner of the swim first.
Can I use the same plumping method on rivers?
Rivers complicate plumbing because current alters the line angle and can drag the float. The stillwater technique is a useful foundation, but river fishing often uses over-depth rigs and requires river specific guidance.
Lake & Lines Editorial Team
Editorial team
The Lake & Lines editorial team brings together freshwater fishing guides and researched tackle advice, helping beginners and returning anglers prepare for better days by the water.